ESPHome is an open-source component software framework for creating custom firmware on ESP8266, ESP32 and other microcontrollers using YAML. It integrates smoothly with Home Assistant and offers a wide range of components for sensors, lights, switches, and more. By removing the need for low-level coding, ESPHome makes it easy to build powerful and flexible smart home devices.
The init-esphome
The install-init-esphome.shinit-esphomeinit-esphome

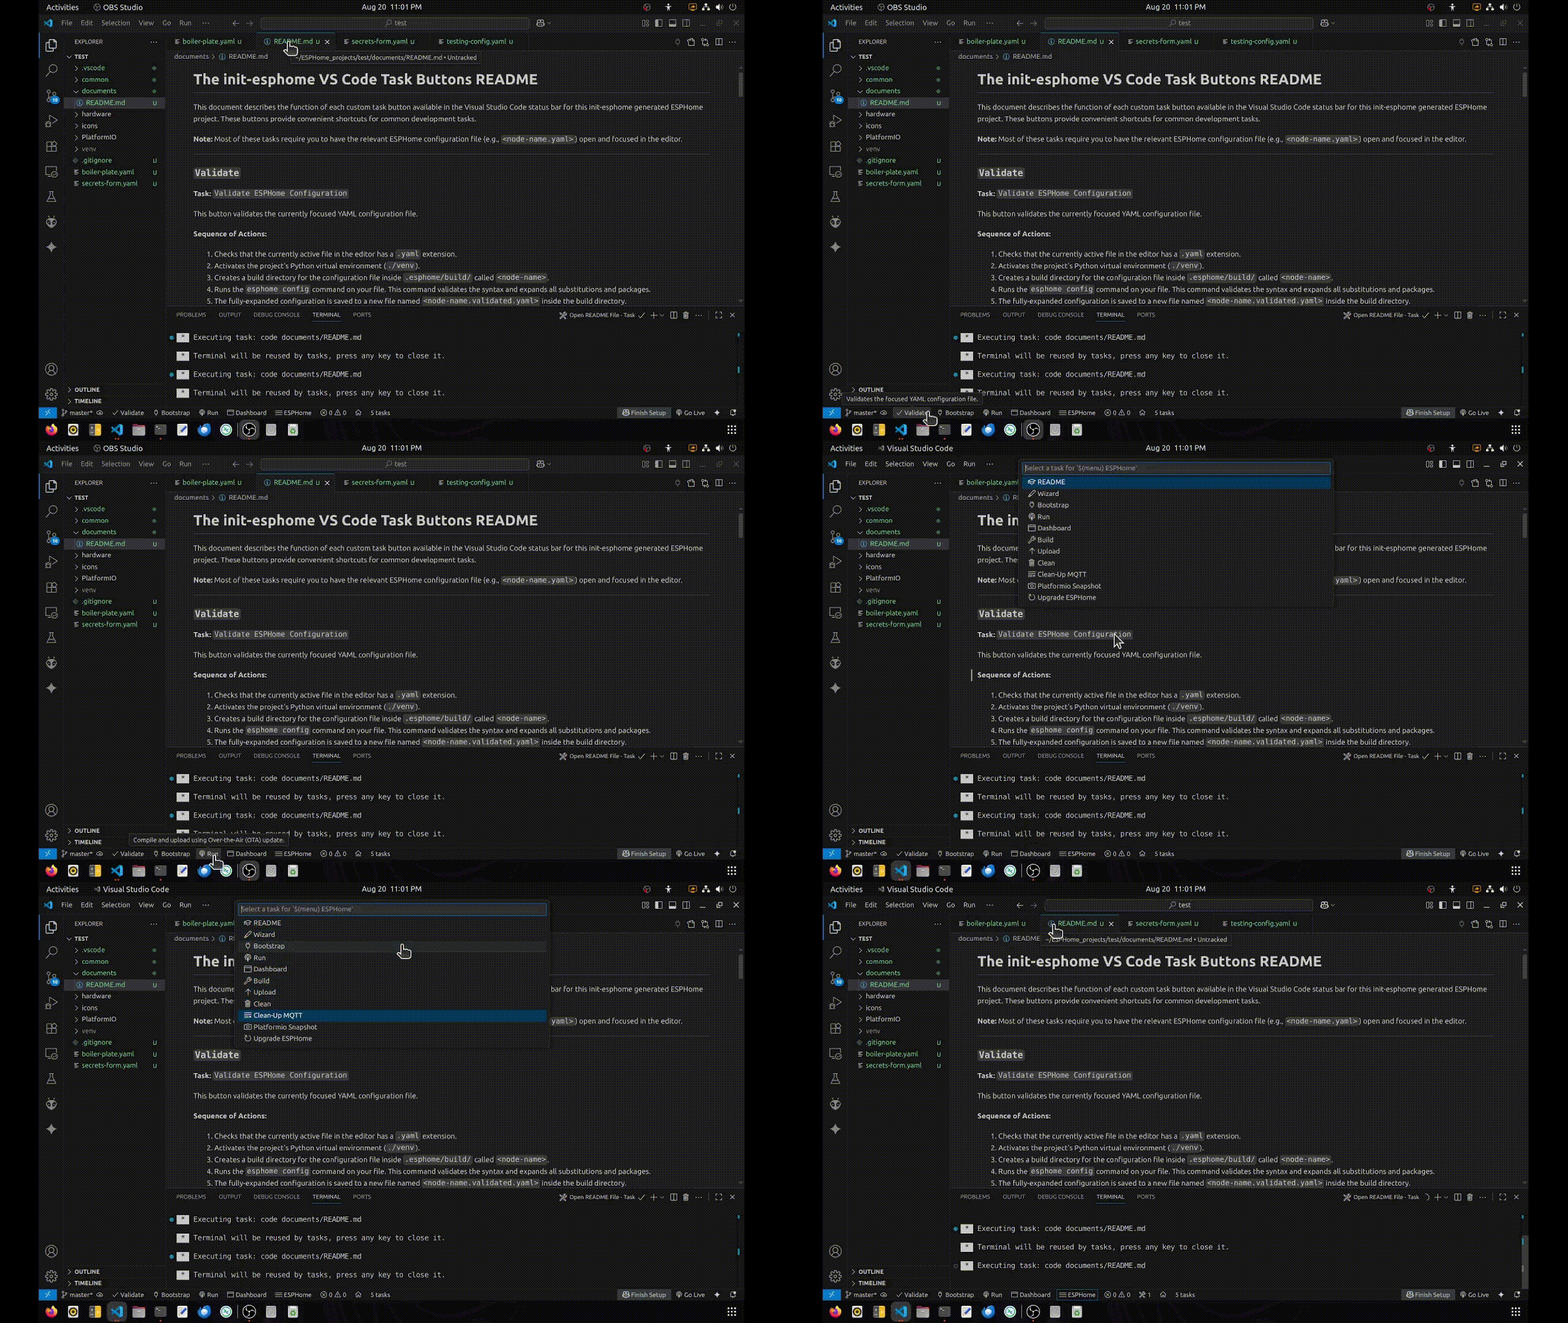
Task buttons automate common development tasks.
⭐ init-esphome
init-esphomeWatch the ‘Blinky for ESPHome – using init-esphome’ video.
Audience
WARNING: This is beta software under development, and may not work for you.
On these Linux releases, it appears to install and run correctly, and is able to be deleted without ill effect.
• Ubuntu 22.04 ✓
• Ubuntu 24.04 ✓
• <reports-please> ✓
On these Linux releases, it fails any of the above.
• Ubuntu 25.04 ⨯ – Error: The repository ‘https://ppa.launchpadcontent.net/deadsnakes/ppa/ubuntu plucky Release’ does not have a Release file. Ubuntu 25.05 (codename: plucky) is too new, and the Deadsnakes PPA has not added support for it yet. Deadsnakes usually supports LTS releases like 22.05/24.04 (Wait for Ubuntu 26.04 LTS).
• <reports-please> ⨯
Prerequisites
Project folders created with this utility, contain an isolated Python3 virtual environment, matched to suit the requirements of ESPHome. This is distinct from any other system-wide Python3 installation. The prototype Python3 version must first be installed, before the isolated Python3 virtual environment can later be automatically created from it. The required version of Python3 is installed, yet not made active. Thus, system-wide Python3 configurations are safely preserved.
On Ubuntu 22.04 – Add python3.12-venv and update/install python3.12
sudo apt update -y
sudo apt install -y software-properties-common
sudo add-apt-repository -y universe
sudo add-apt-repository -y ppa:deadsnakes/ppa
sudo apt update -y
sudo apt install -y python3.12 python3-venv python3.12-venv python3-pip
sudo apt install -y git curlOn Ubuntu 24.04 – Add python3.12-venv and update python3.12
sudo apt update -y
sudo apt install -y python3.12 python3-venv python3.12-venv python3-pip
sudo apt install -y git curlYou now have all the Python 3.12 prerequisites.
Install Microsoft Visual Studio Code
If you don’t already have Microsoft Visual Studio Code installed, then add the repository and install it for 22.04, or install the snap for 24.04.
For Ubuntu 22.04 only
sudo apt update -y
sudo apt install wget gpg -y
wget -qO- https://packages.microsoft.com/keys/microsoft.asc | gpg --dearmor > packages.microsoft.gpg
sudo install -o root -g root -m 644 packages.microsoft.gpg /usr/share/keyrings/
sudo sh -c 'echo "deb [arch=amd64 signed-by=/usr/share/keyrings/packages.microsoft.gpg] \
https://packages.microsoft.com/repos/code stable main" > /etc/apt/sources.list.d/vscode.list'
rm packages.microsoft.gpg
sudo apt update -y
sudo apt install code -yOr for Ubuntu 22.04 and Ubuntu 24.04
snap install code --classicAdd your username to the dialout group, to set /dev/ttyX (USB/Serial) device permission for flashing.
sudo usermod -a -G dialout $USERTo effect this change, power-cycle any USB/Serial peripherals, then do a full session logout. You must either reboot, or log right out of Linux, then log back in again.
Installation
To install the init-esphome command script in your ~/.local/bin folder, possibly create the directory, and add it to your path if it’s not found there, just run the following shell command.
curl -fsSL https://raw.githubusercontent.com/Green-Bug-Eyed-Monster/init-esphome-installer/refs/heads/main/install-init-esphome.sh | bashNOTE: This is fully open-source software, made freely available for inspection.
If you have security concerns, please review both the install-init-esphome.sh installer and the init-esphome development environment setup script before running the installer, along with your copy of ~/.local/bin/init-esphome after it’s installed.
Use
After installation, you may run the init-esphome script from any location, to download and set up an ESPHome development environment, in any chosen target folder.
It will create the target folder if it does not already exist, then populate it with all the files required to perform professional IOT node development, including the ESPHome component software framework, and a tailored Visual Studio Code environment.
To initialise a folder for ESPHome development—creating it if it doesn’t already exist—use the following command, along with the path to the target folder, be it absolute or relative:
init-esphome <target-folder>Removal
To remove the init-esphome command script from your ~/.local/bin folder completely, just run the following shell command.1
rm ~/.local/bin/init-esphomeThe path remains unaltered.2
- Any first-run-downloaded Visual Studio Code extension recommendation has lasting, global effect. Conversely, all VS Code customisation is local to the working folder. i.e. When the working folder is erased, all customisation is lost.
- The ~/.local/bin path possibly set during installation, isn’t removed in this step, as it likely may still be in use. The path ~/.local/bin refers to a folder commonly used for user-specific executable files, on many later Linux distributions.

